

Getting new internet installed is one of those things people put off because they assume it will be complicated. A crew shows up, work happens in the yard, cables get run through the walls, and somewhere in the middle of it, you lose track of what is actually going on.
Flume fiber internet changes that experience by following a structured, step-by-step process that the technician team walks through with you from the start. This guide covers the full fiber optic installation from property walkthrough to the moment your connection goes live, so you know exactly what to expect on installation day.
Here’s a quick overview of the 7 core installation steps, which you can read through in detail in the later part of this article:
The whole process is handled by the Flume team and typically takes just a few hours.
Fiber optic internet and cable internet are not the same technology, and the installation process reflects that. Cable internet connects your home to a shared neighborhood line, which means your bandwidth is split among multiple users in your area. Fiber internet runs a dedicated line directly from the street to your home, giving you a connection that does not fluctuate based on who else in your neighborhood is online.
The infrastructure is more advanced, which is why the installation is more involved. Every step in the Flume process exists for a reason, and the result is a faster, more stable connection built specifically for your address. For households managing video calls, streaming across multiple screens, or working from home on a daily basis, the difference is significant.
Flume schedules your installation appointment in advance, so you will know when the technician team is arriving. A little preparation on your end keeps the visit on track and helps the crew complete the work efficiently.
A standard Flume fiber installation in Simi Valley typically takes a few hours, depending on the property layout and the distance from the street to the home.
Here's what the installation process looks like in action:
The installation does not begin until the technician team has walked the full path with you. Before any equipment comes out, the crew surveys the property, confirms the best route for the fiber line, and reviews access points together with the homeowner. The goal is to find the cleanest and most practical path from the street to the home while keeping disruption to the yard and surrounding areas as limited as possible.
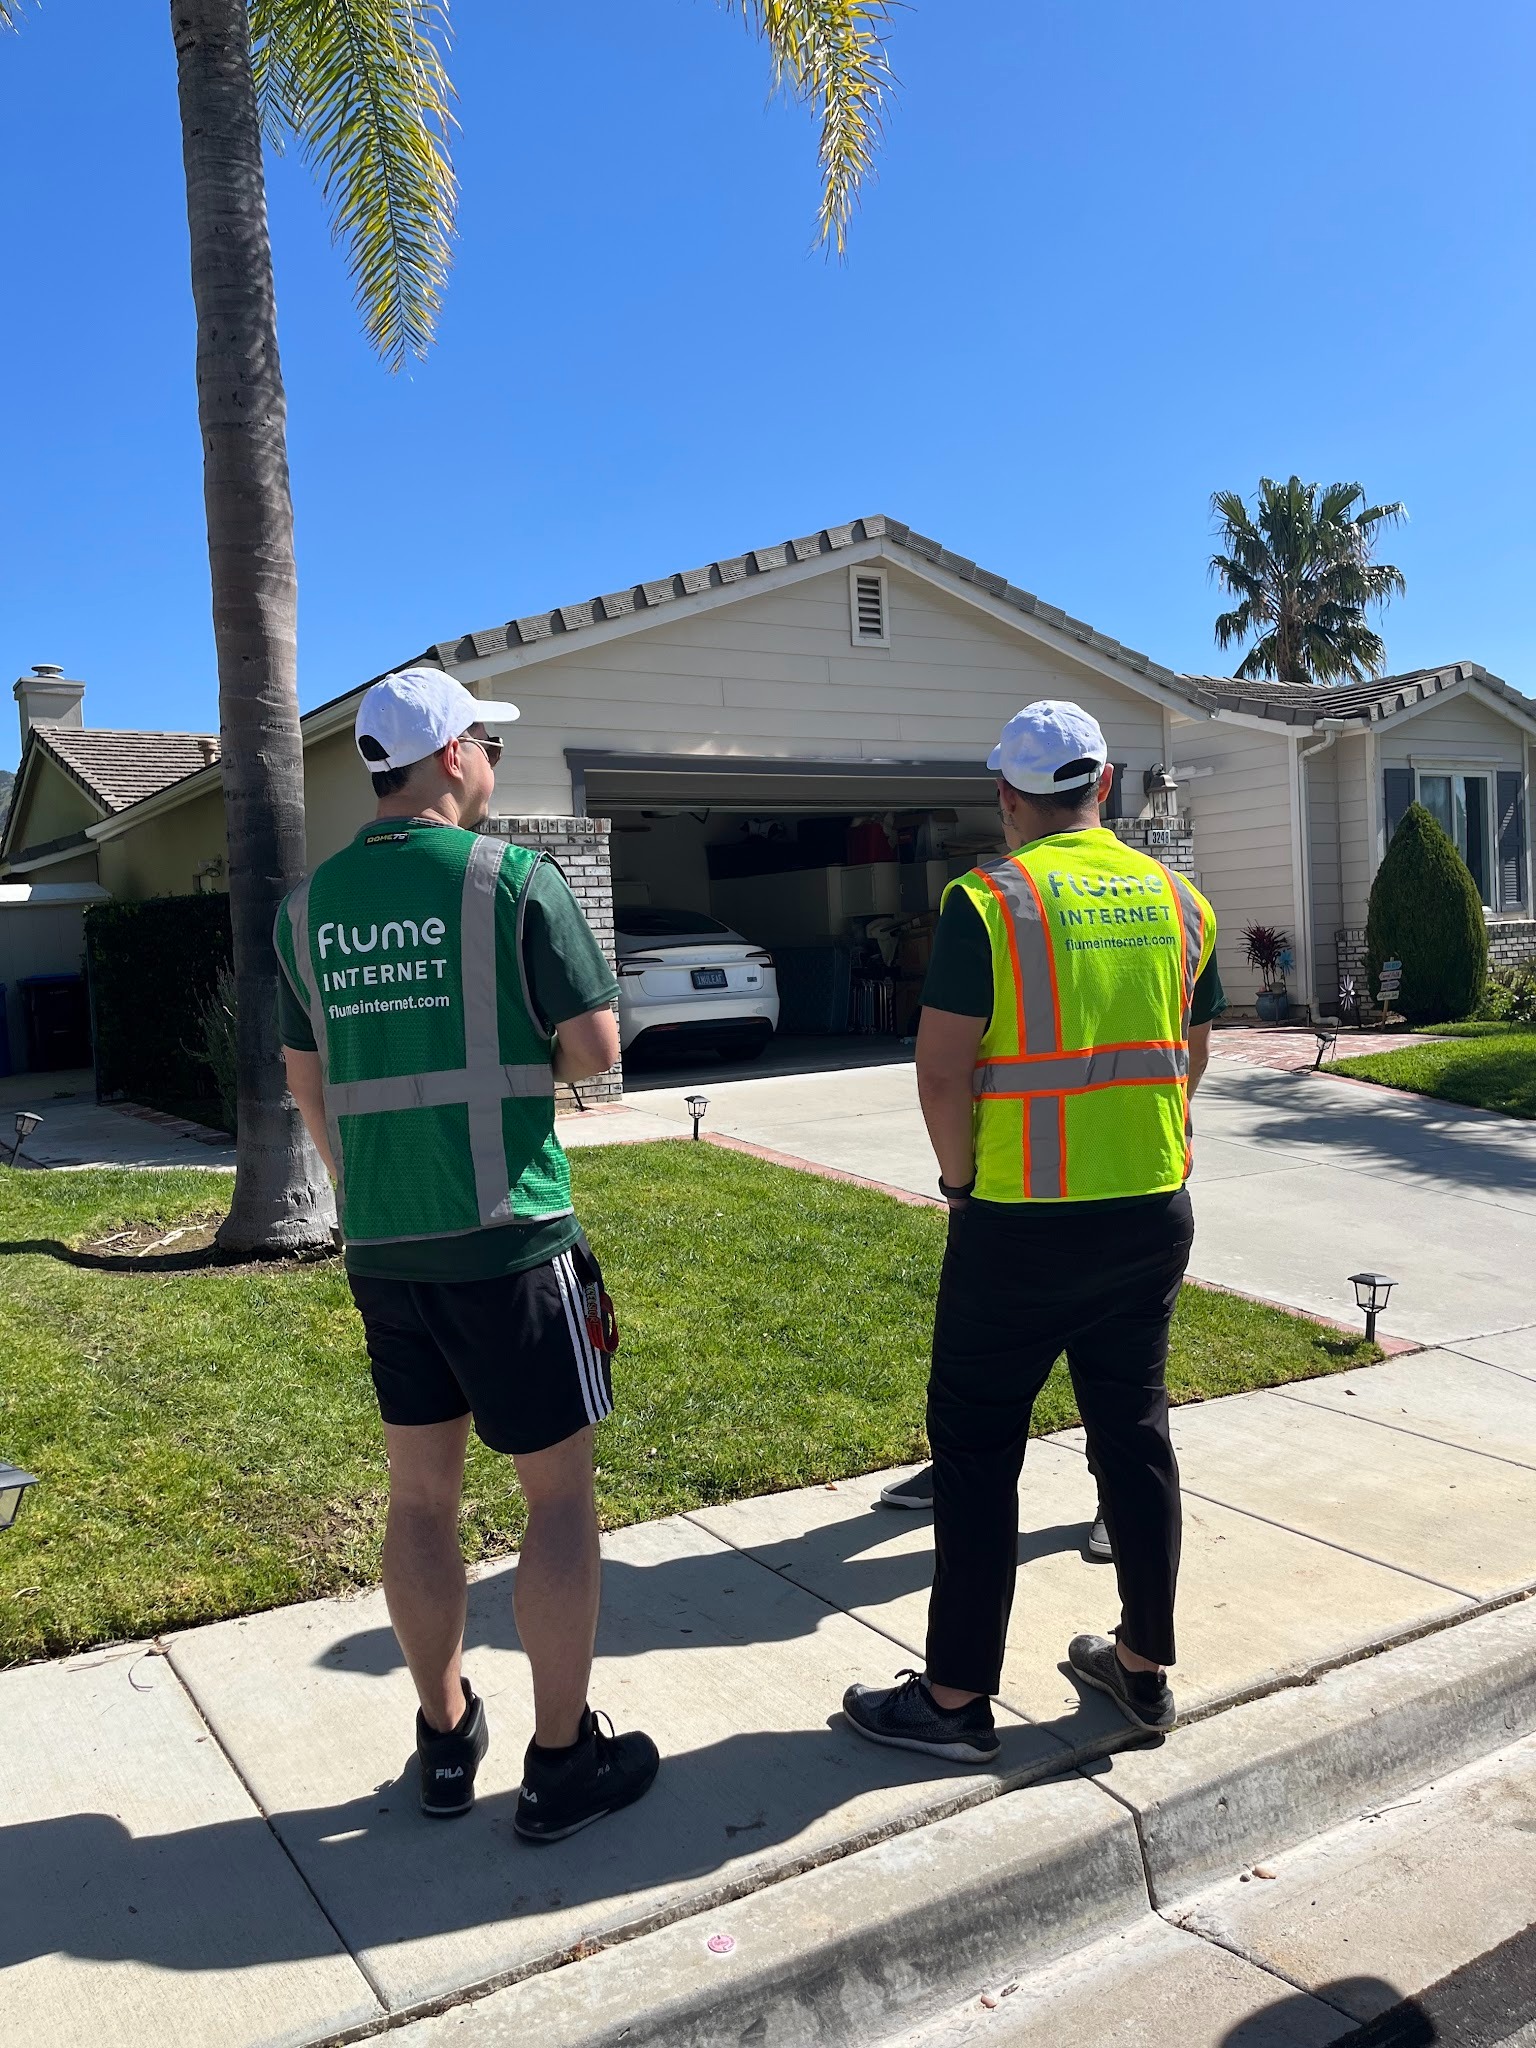
Homeowners are included in this walkthrough, so there are no surprises once the work starts. The team maps out the conduit path, identifies any obstacles, and confirms the plan before proceeding.
Once the route is confirmed, the technician team uses a process called microtrenching to create a narrow channel from the sidewalk or street edge to the side of your home. A protective conduit is placed inside the trench, and the fiber optic cable is run through it. The channel is intentionally narrow to minimize disruption to the yard and surrounding ground. This is the physical step that brings the fiber network from the street to your property.
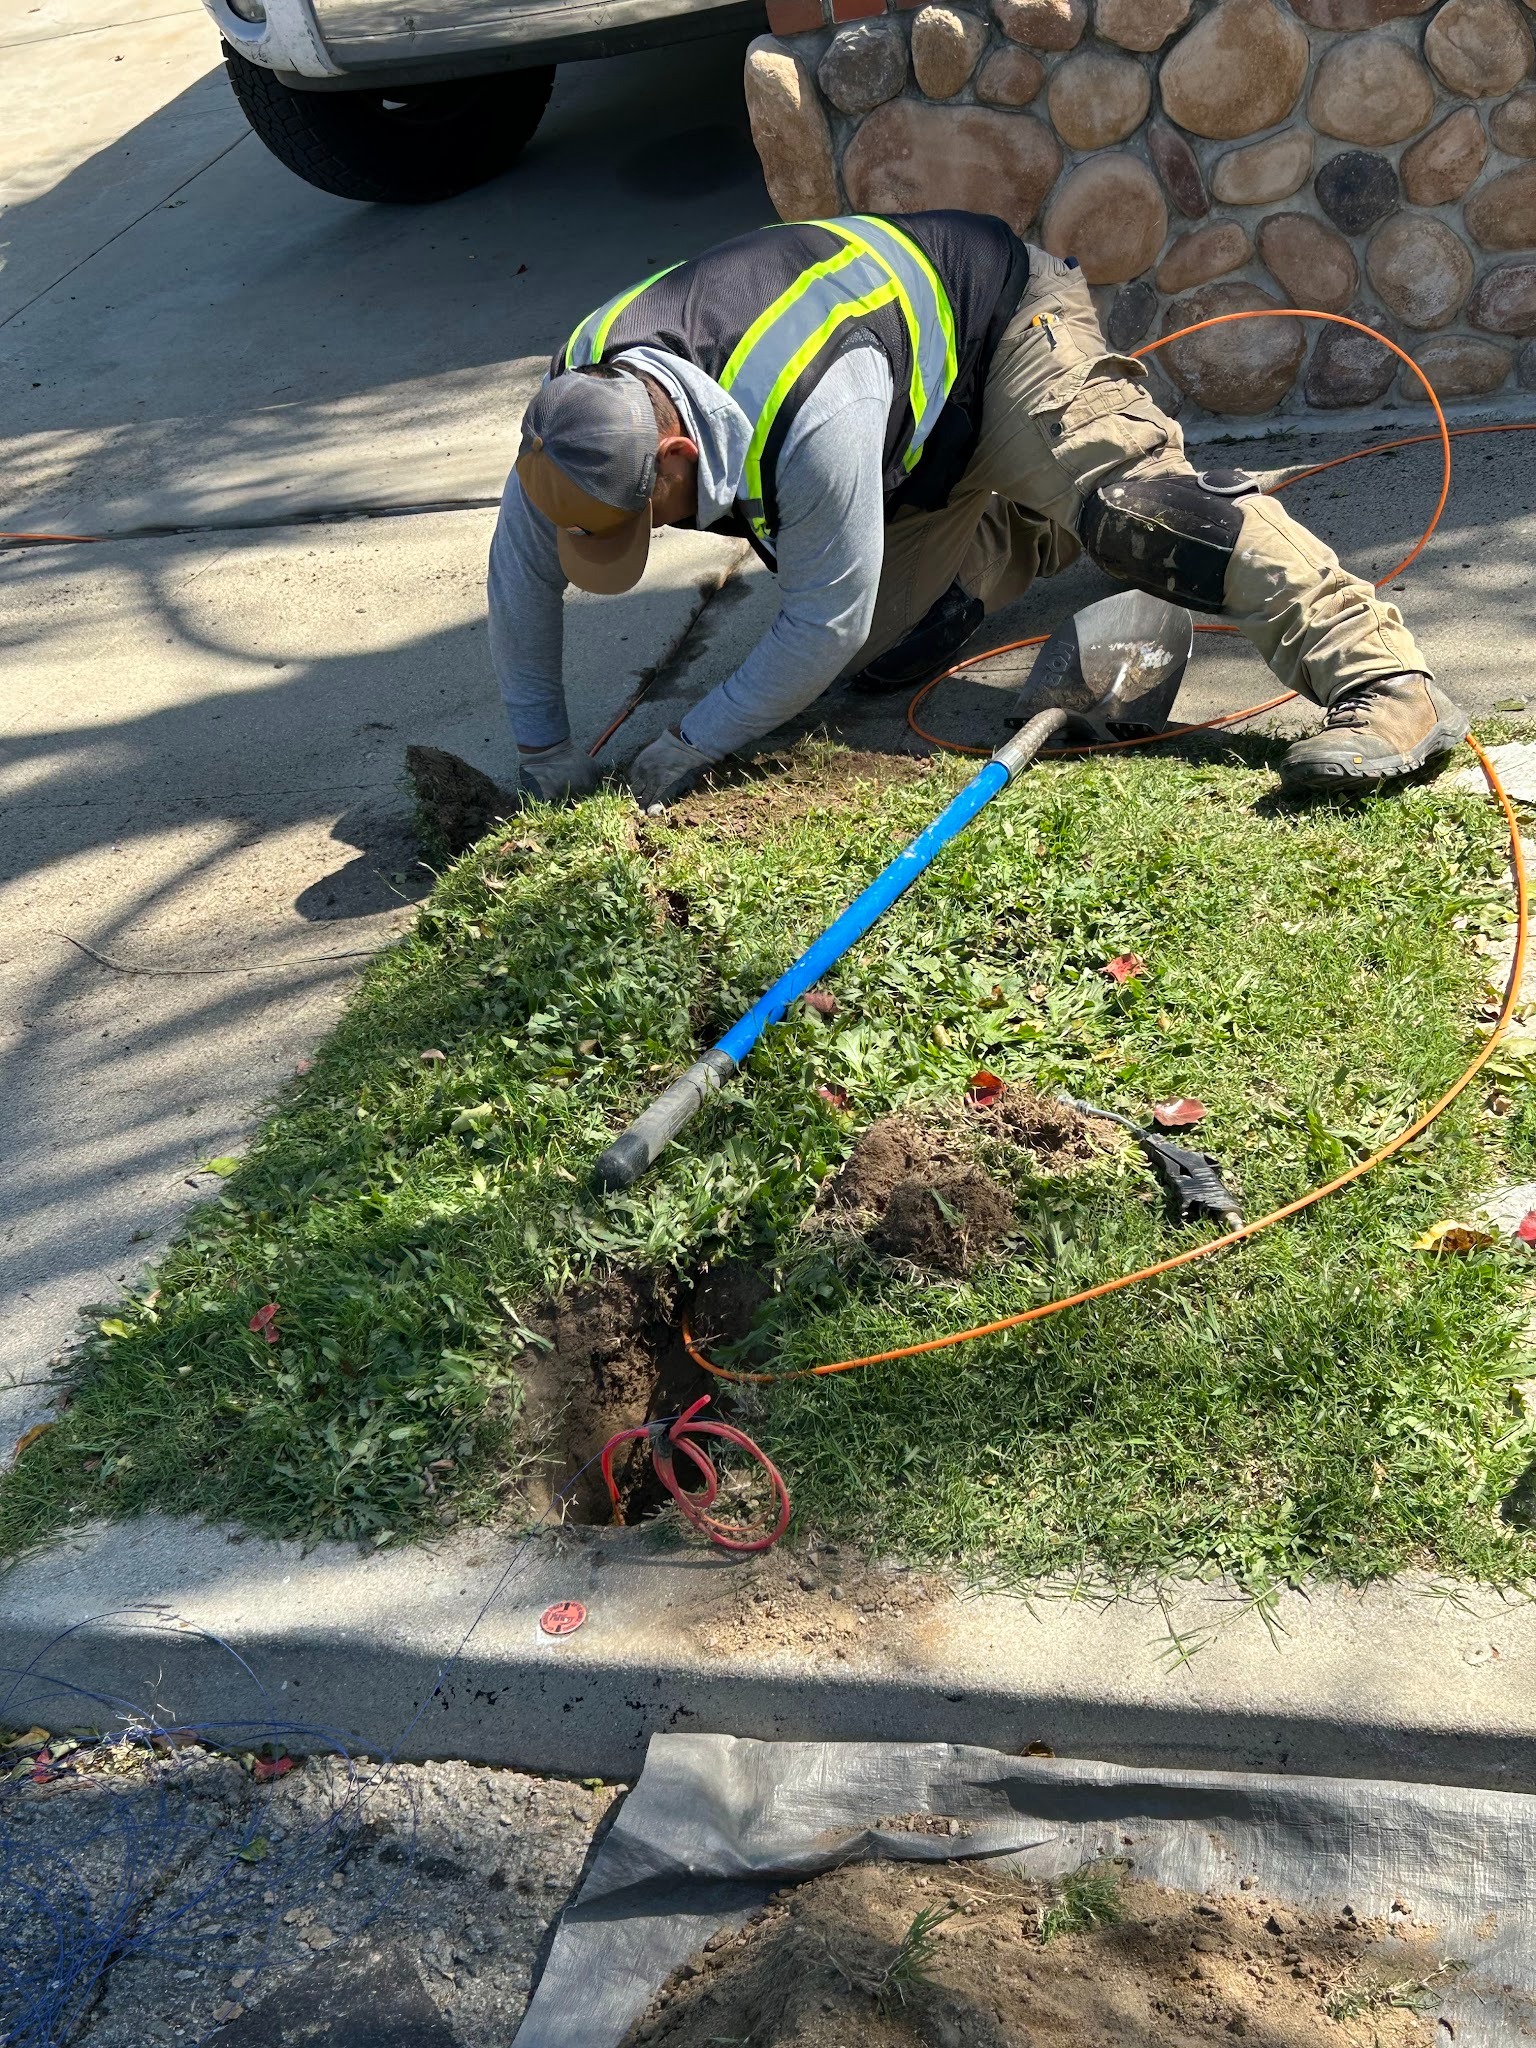
The conduit protects the cable from ground pressure and moisture, which is part of what makes fiber infrastructure more durable than a surface-level cable run. In some properties, boring equipment is used instead of an open trench, depending on the layout and surface type. Either way, the crew chooses the method that causes the least disruption to the yard.
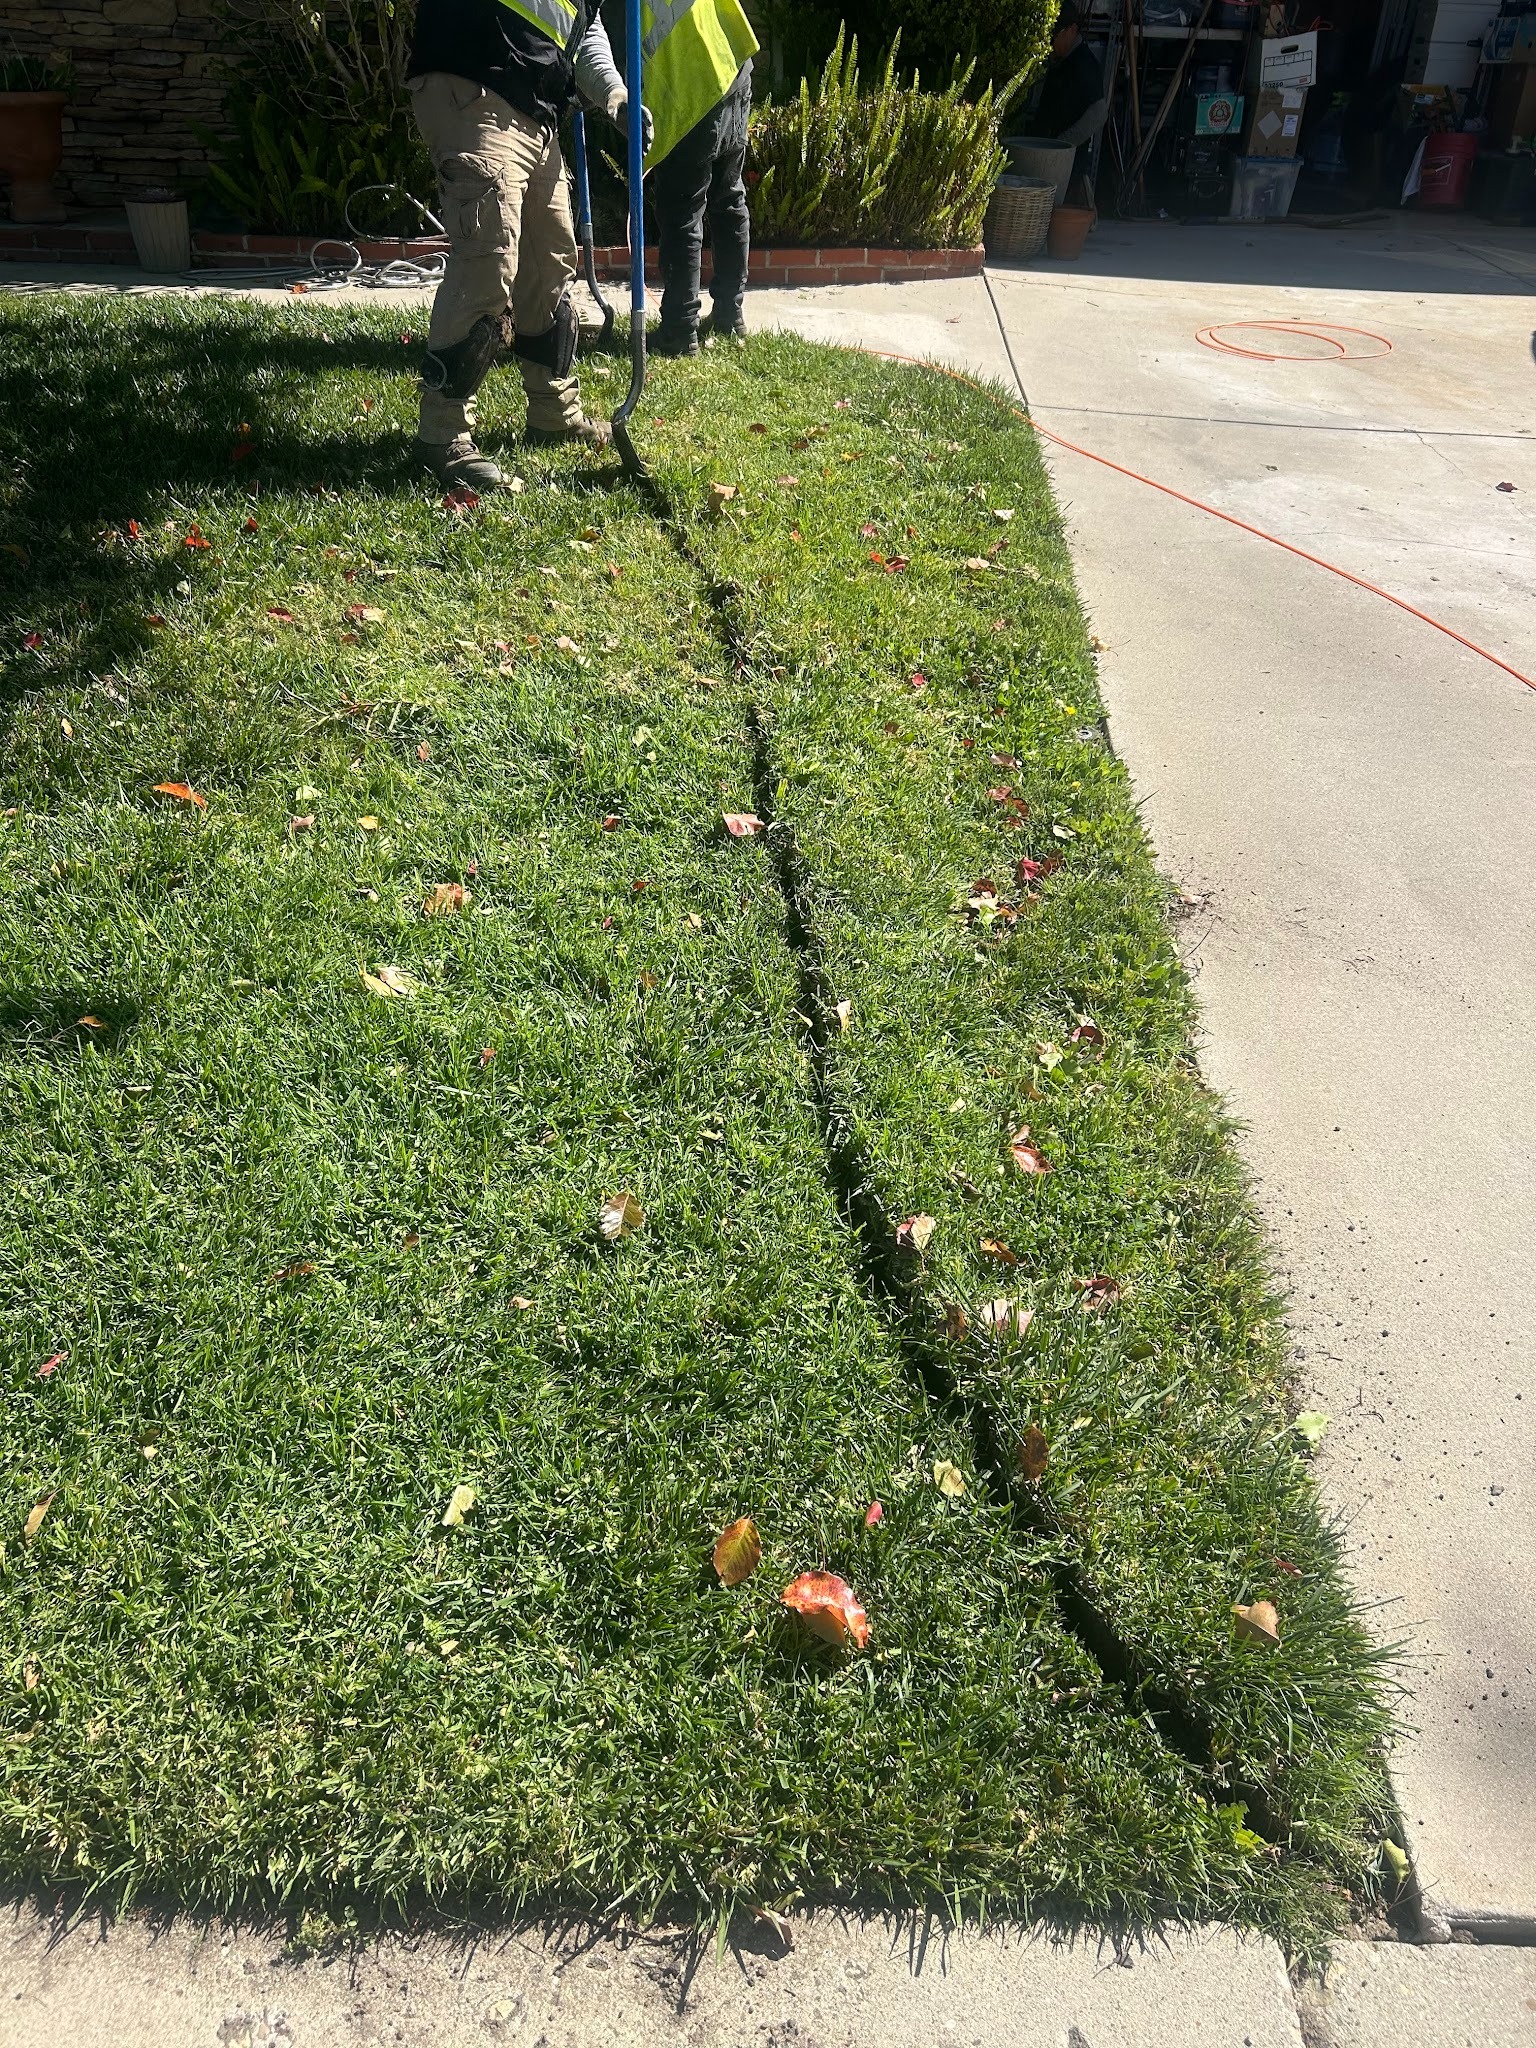
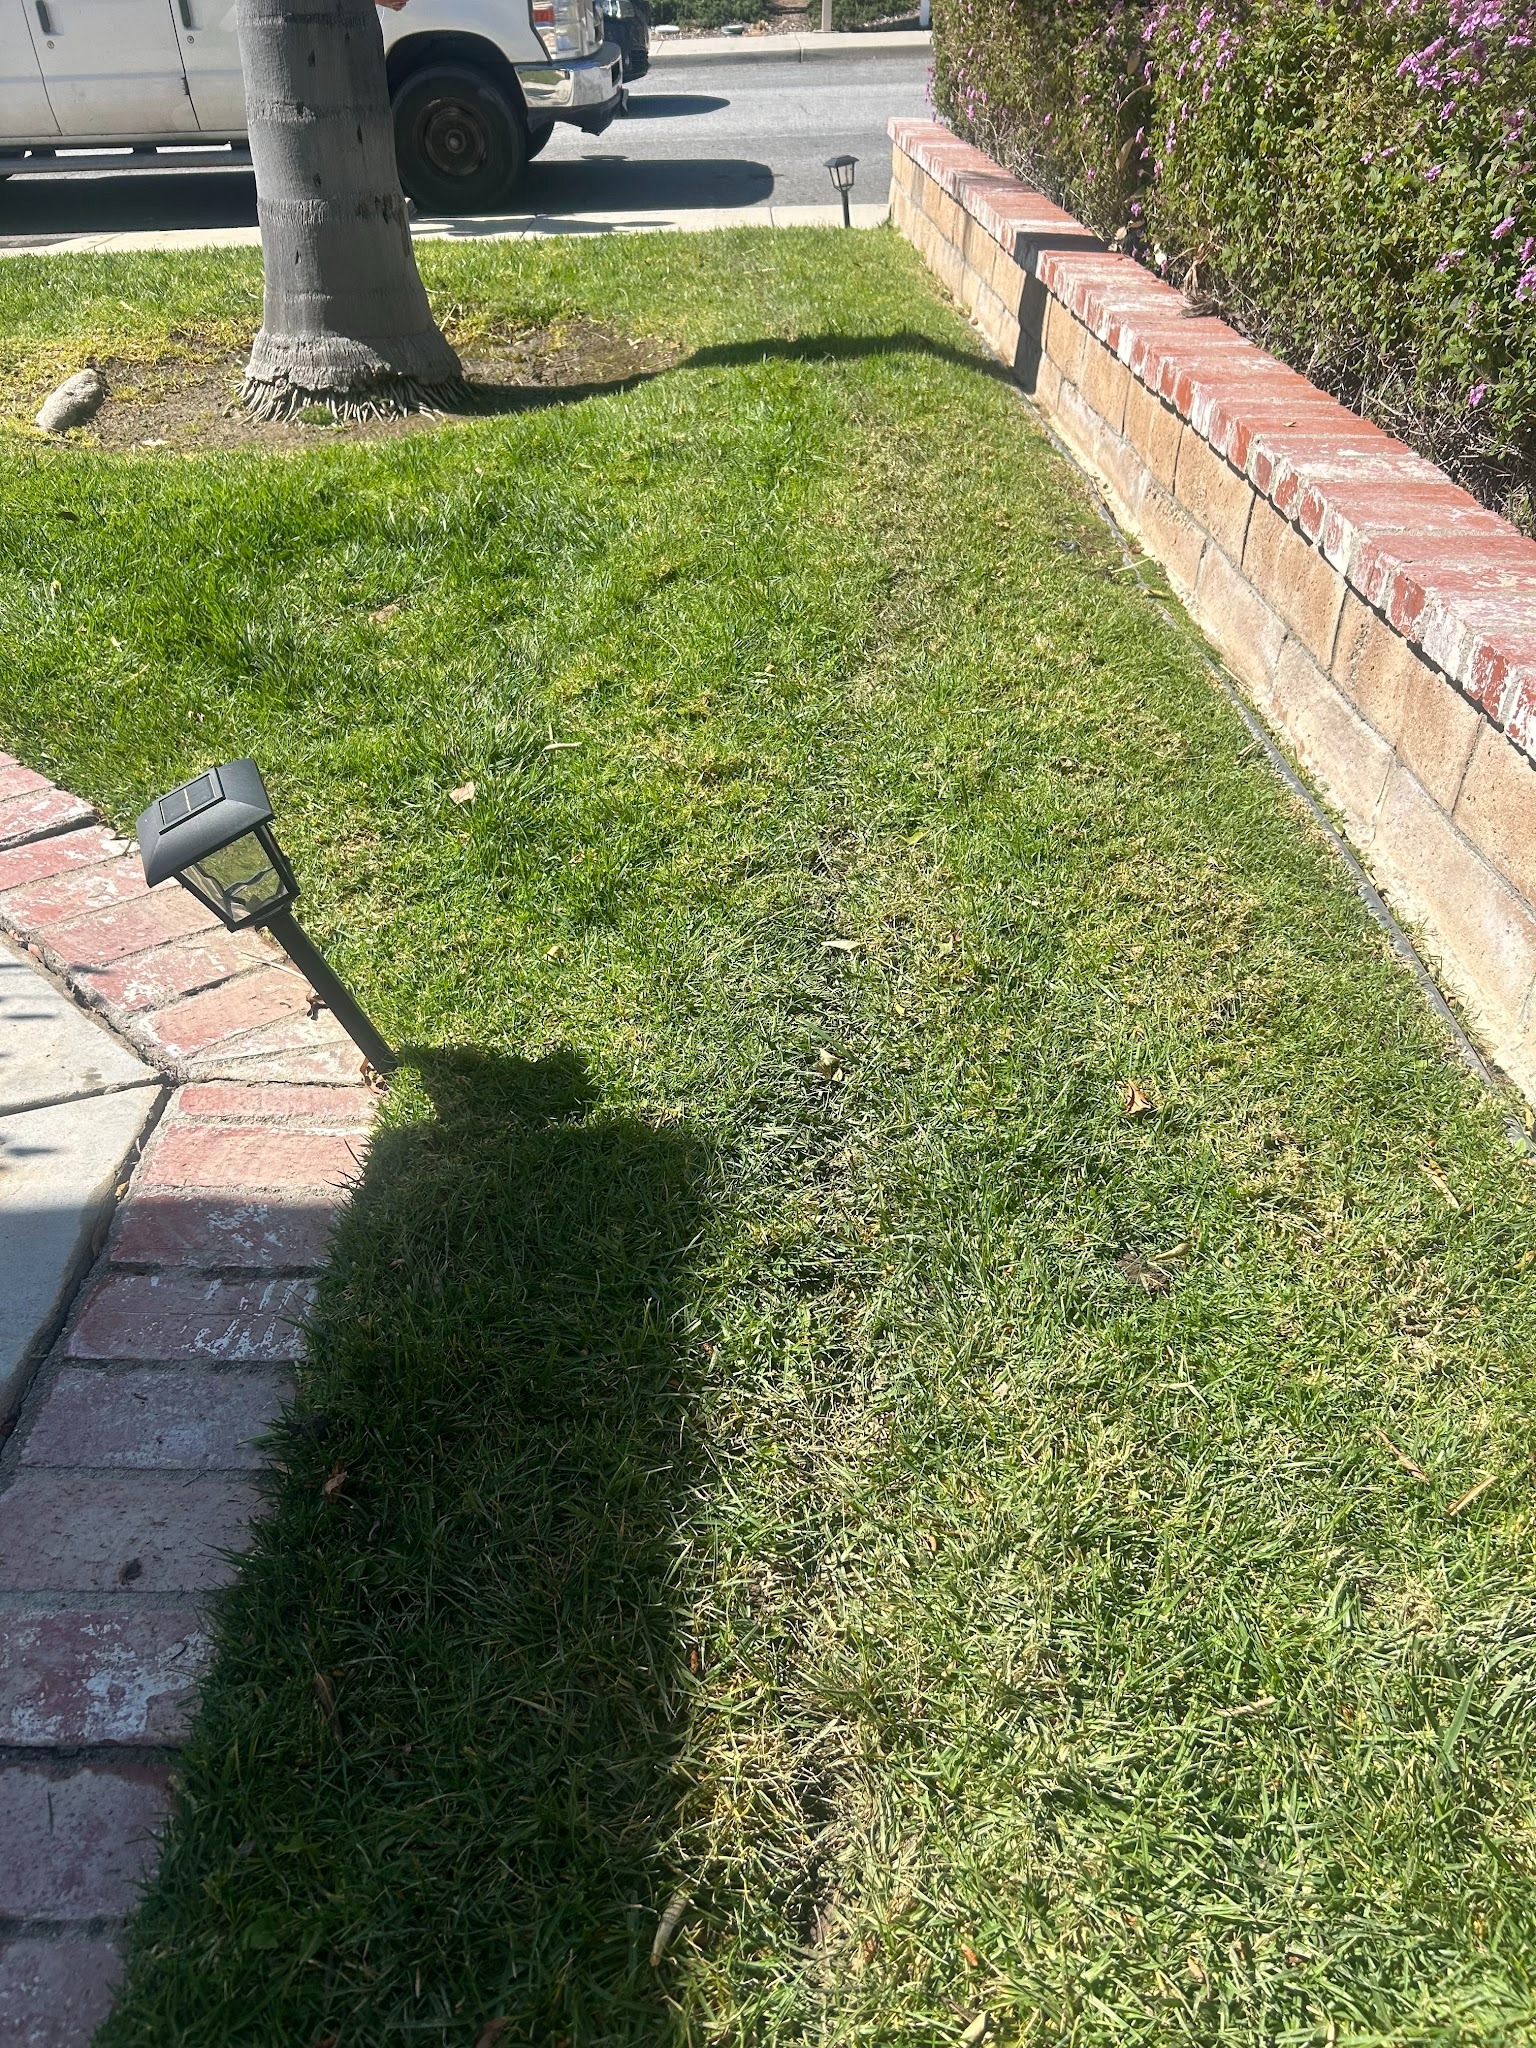
After the conduit is in place, the crew closes the trench and restores the disturbed area. Sod and soil are replaced as part of the standard installation, and the team works to return the yard as close to its original condition as possible. Lawn restoration is included in the Flume installation process, so homeowners do not need to arrange separate yard work after the visit.
This step matters more than it sounds. The crew understands that the yard is part of the property, and how the site is left at the end of the job reflects directly on the work.
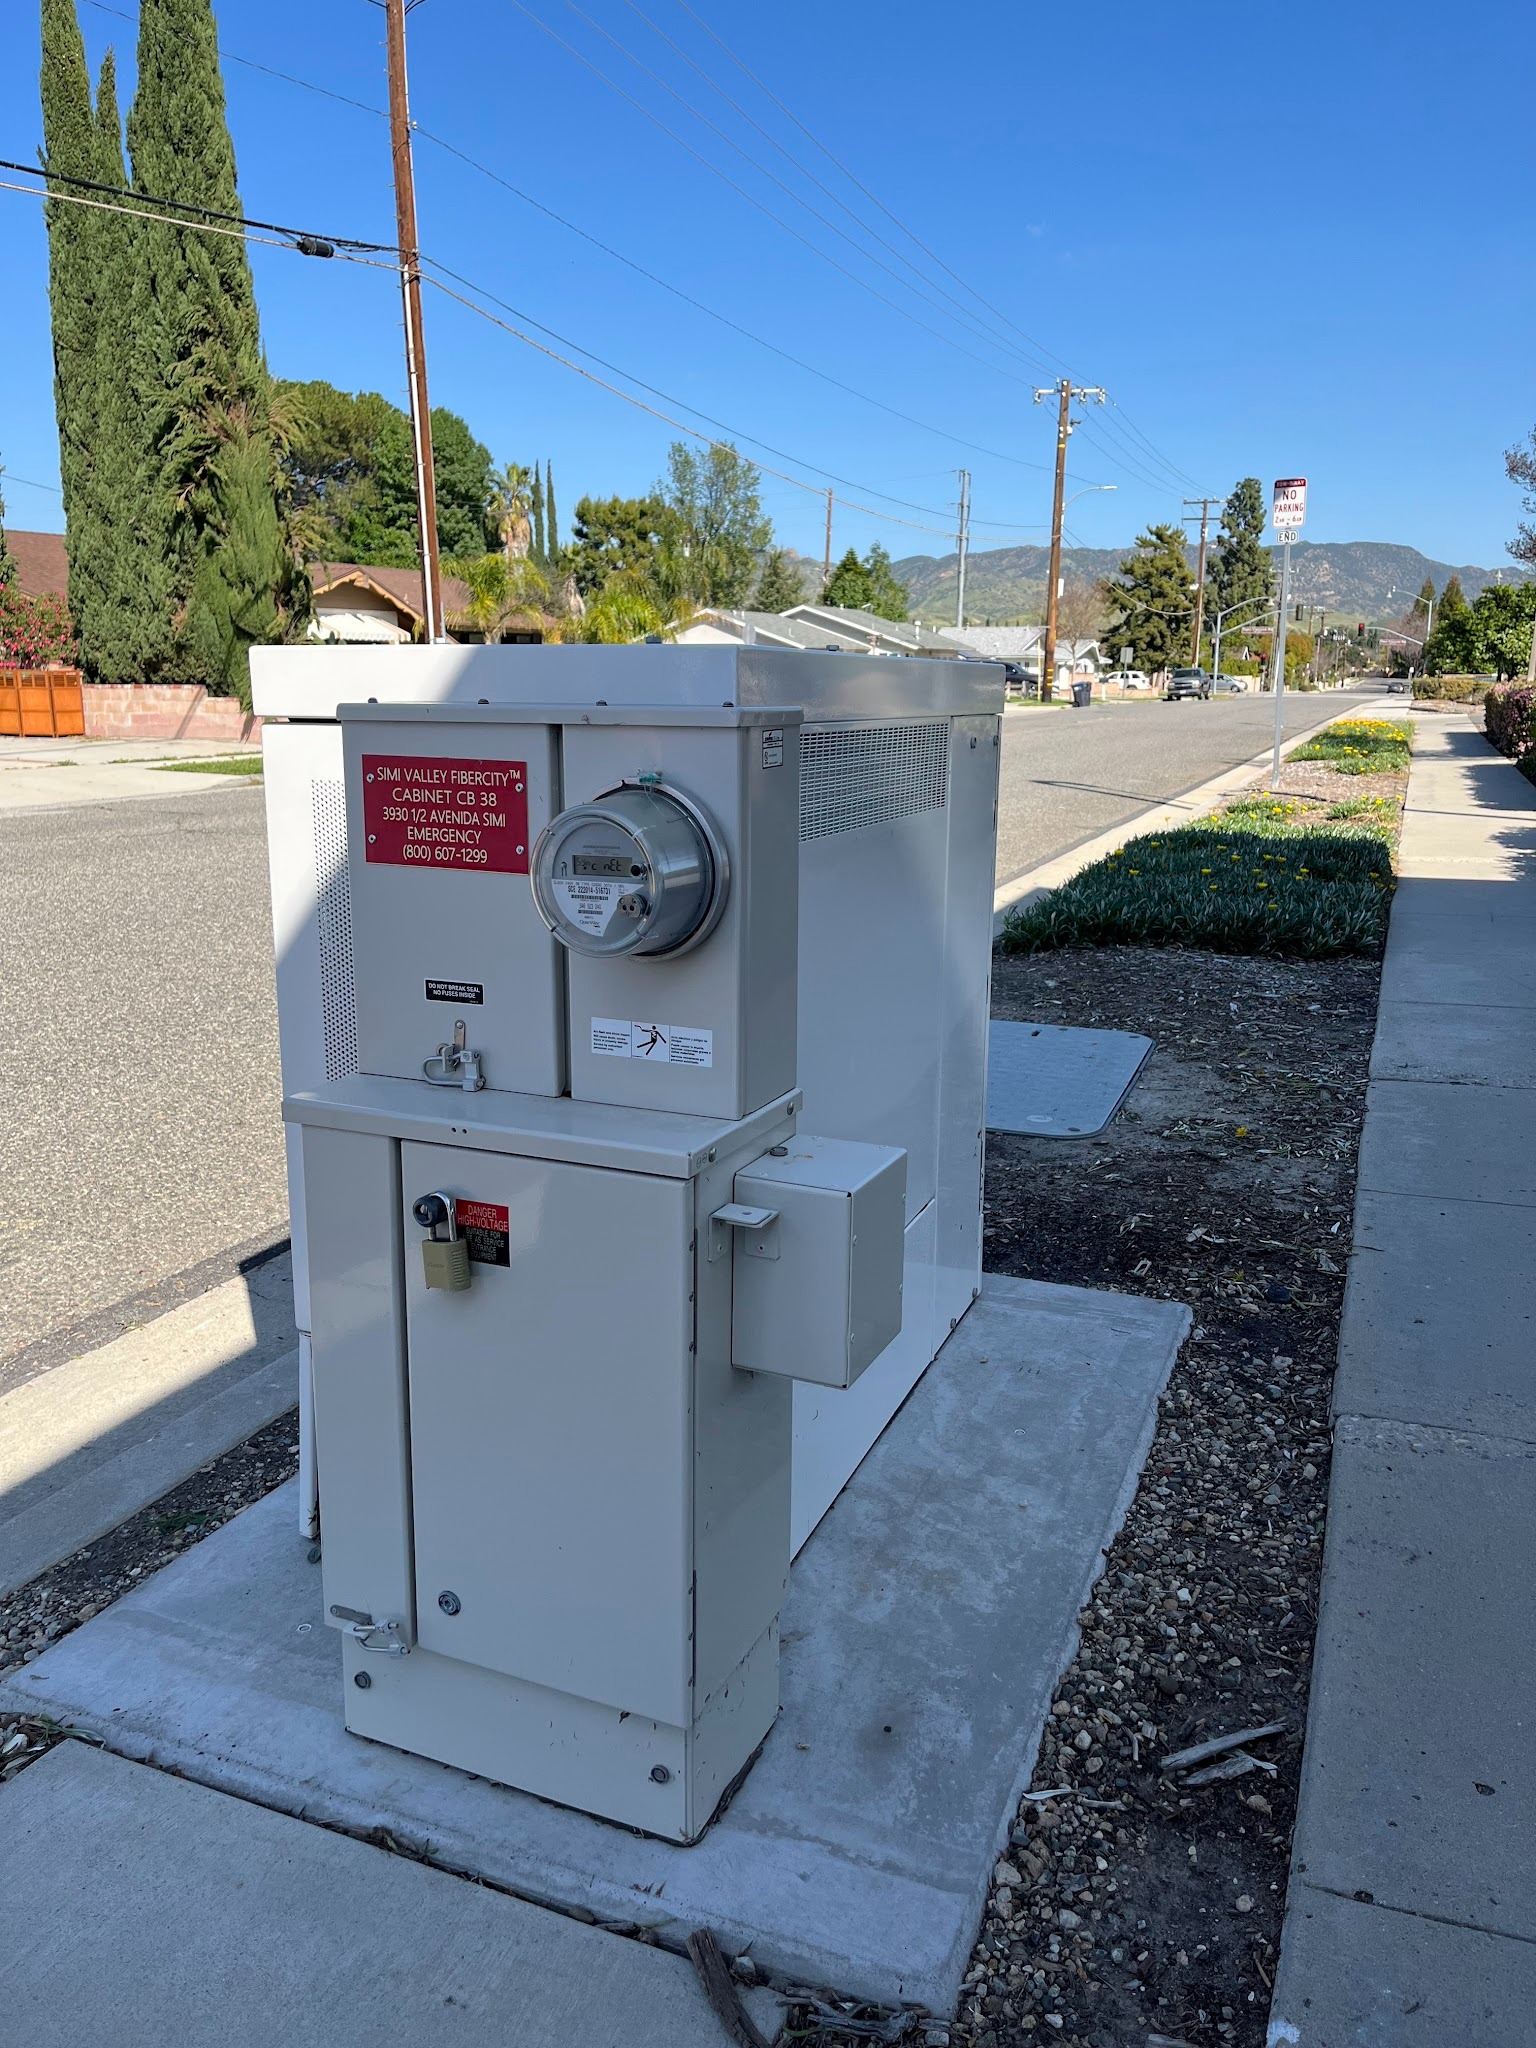
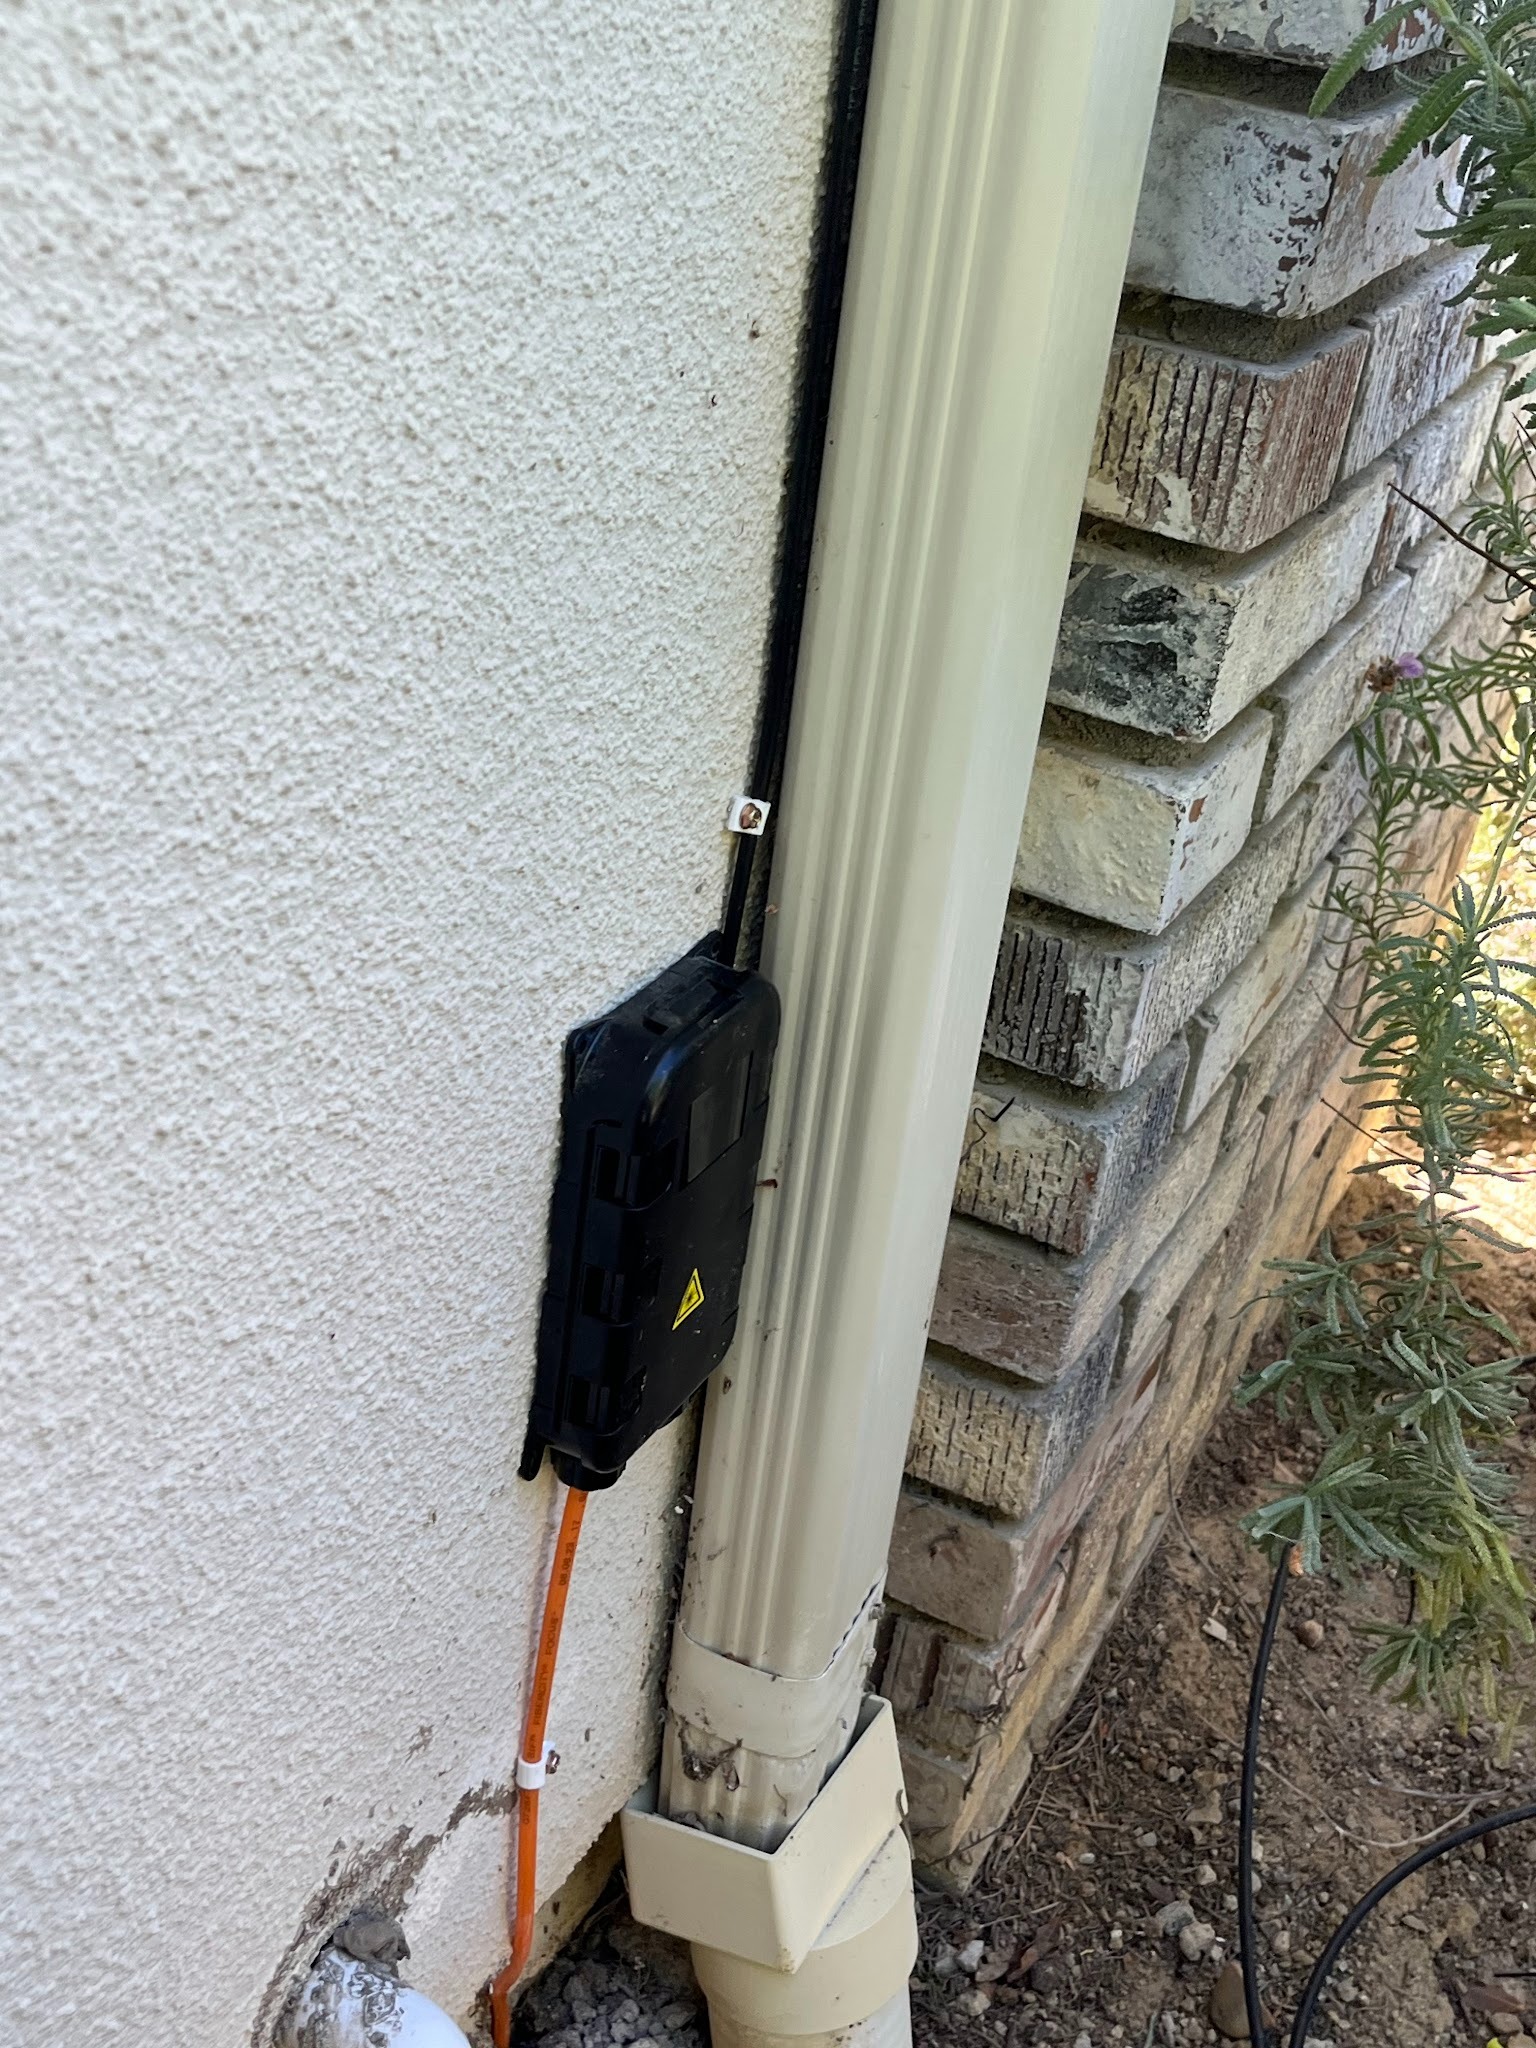
With the conduit run complete and the yard restored, the technician mounts the NID (Network Interface Device) box on the exterior of the home. The NID box serves as the transition point between the outdoor fiber run and the indoor connection. It houses the termination of the exterior line and protects it from weather and environmental exposure.

Placement is chosen for practicality, typically along the side of the home near where the conduit enters the structure. The NID is a compact, low-profile unit that does not require much wall space and is designed to be accessible for future service visits if needed.
An indoor fiber cable is run from the NID box into the home, and the Nokia ONT (Optical Network Terminal) is installed at the interior endpoint. The ONT is the device that converts the incoming fiber signal into a format your router and connected devices can use. It is the bridge between the fiber line coming in from the street and the Wi-Fi network inside your home. For open-access markets like Simi Valley and Placentia, residents are provided with a dual device that is both the ONT and the router.
The technician places the ONT in a location that balances signal performance with practical convenience, usually close to where you plan to set up your primary workspace. The indoor cable run is kept as clean and minimal as possible, routed along baseboards or through wall entry points where available.
While the home installation is underway, the fiber line in the street is connected to the nearest network splice case, which is typically housed inside a handhole box at or near the curb. The splice is the point where your home's dedicated fiber line ties into the broader Flume network infrastructure.
This step is what activates the line and completes the full path between Flume's network and your home. The technician verifies the splice connection and confirms the signal is reaching the property before moving into the final activation phase.
With every connection in place, the technician confirms the line is live and walks you through the Flume onboarding process. Following the onboarding steps connects your devices to the network and verifies that speeds are performing as expected. By the end of the visit, your home is running on fiber-fast internet through a dedicated line built for your address.

Onboarding is designed to be straightforward, and the technician is present to answer questions before leaving the property. From the initial walkthrough to the moment your devices are connected, the full installation is handled by the Flume team.
For anyone who wants a clearer picture of the crew's work throughout the day, here is a breakdown of each activity on-site.
Each of these tasks is part of a coordinated sequence, and the team does not move to the next step until the previous one is completed correctly.
The full installation is handled by the Flume technician team from the first walkthrough to final activation. To schedule your installation or have someone walk you through the process before you commit, contact the Flume team to set up a consultation.
A standard residential installation is typically completed within a few hours. The exact time depends on the property size, the distance from the street to the home, and any site-specific factors identified during the initial walkthrough.
Yes. Lawn and ground restoration is included in the Flume installation process. The trench is filled, and the sod is replaced before the crew leaves the property.
Yes. A homeowner or authorized adult needs to be present for the property walkthrough at the start of the visit and available throughout the installation.
The technician will work with you to find the best placement based on your floor plan and where you primarily use the internet. Coming in with a general preference helps move the process along.
The Flume fiber setup operates independently from any existing cable infrastructure. The technician can advise on disconnecting or removing old equipment during the visit.
Service is activated on the day of installation. Once the connection is confirmed and onboarding is complete, your devices can connect immediately.
The microtrenching process is designed to minimize disruption. The trench is narrow, and the crew restores the area before leaving. The goal is to leave the yard in the same condition it was in before the work began.
© Flume, 2025, All Rights Reserved.


.svg)

.jpg)
.jpg)